Veneer cutting separates amateur work from professional-grade finishes. A single splintered edge can ruin a whole panel — but it’s avoidable. With the right tools, methods, and prep, you can make clean, consistent veneer cuts without splitting, tearing, or chipping.
This guide walks you through the best techniques, from simple knife cuts to advanced routing, so you can match the precision of a custom shop, right in your workspace.
Why Veneer Is So Easy to Damage
Veneer is real wood, but it’s incredibly thin, often as little as 1/42 of an inch. That makes it easy to split along the grain, especially with the wrong blade or too much pressure. Because it’s so thin, any surface defects or poor support underneath show up instantly in your cut.
To avoid all that, you need three things: a razor-sharp cutting edge, consistent support under the material, and the right amount of pressure. No more, no less.
Tools That Make the Difference
Clean veneer cuts start with sharp, purpose-built tools. Here’s what belongs in your setup:
- Veneer saw: Designed for straight cuts through thin sheets. Look for fine teeth and a rigid blade that won’t flex.
- Utility or marking knife: Ideal for scoring and slicing thinner veneers. Use rigid, replaceable blades for no wobble.
- Veneer scissors: Great for curved or detailed cuts where other tools are too bulky.
- Straightedge and cutting surface: Use a steel straightedge for guiding cuts and place your veneer on a smooth MDF or plywood backer.
- Tape: Painter’s tape or veneer tape reinforces the cut line and holds fibers in place.
- Clamps or vacuum hold-down: These help prevent slipping or vibration, which often cause splitting.
- Router with flush-trim or spiral bit: Use this for template routing or precise edge finishing.
- PPE: Safety glasses and a dust mask are must-haves when cutting or sanding veneer.
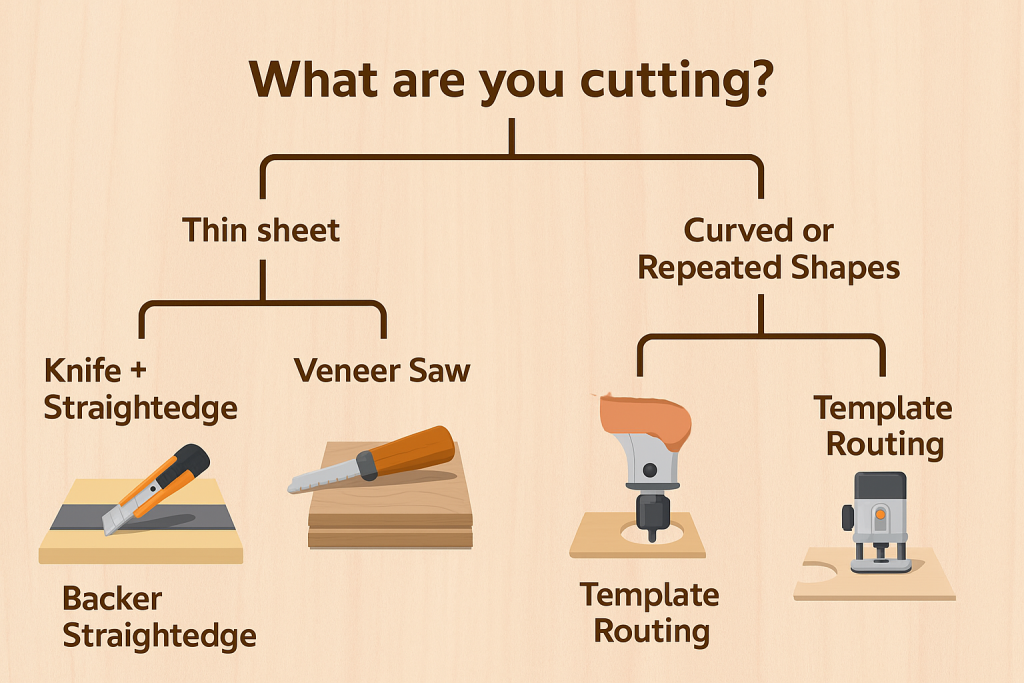
How to Prep for Any Cut
A clean cut starts before the blade touches the surface. Here’s how to set up your work for success:
- Let the veneer acclimate to your shop for at least 24 hours to avoid warping or unexpected movement.
- Inspect the grain direction and try to plan your cuts with the grain whenever possible.
- Label your sequence if you’re book-matching or working with multiple panels.
- Work on a clean, stable surface, and use a backer board underneath the veneer to create zero-clearance support.
- Apply tape across your cut line to prevent splintering on the face side, especially on figured or brittle species.
- Clamp your veneer in place to eliminate vibration or shifting during the cut.
Method 1: Knife and Straightedge
Best for: Thin veneers, straight cuts, minimal waste
This is the go-to method for thin veneers and tight tolerances. It’s simple, clean, and effective as long as your blade is sharp.
Steps:
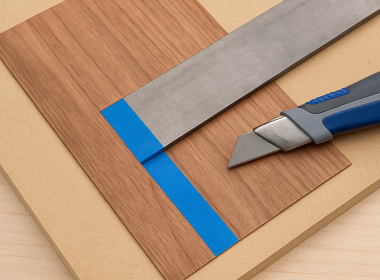
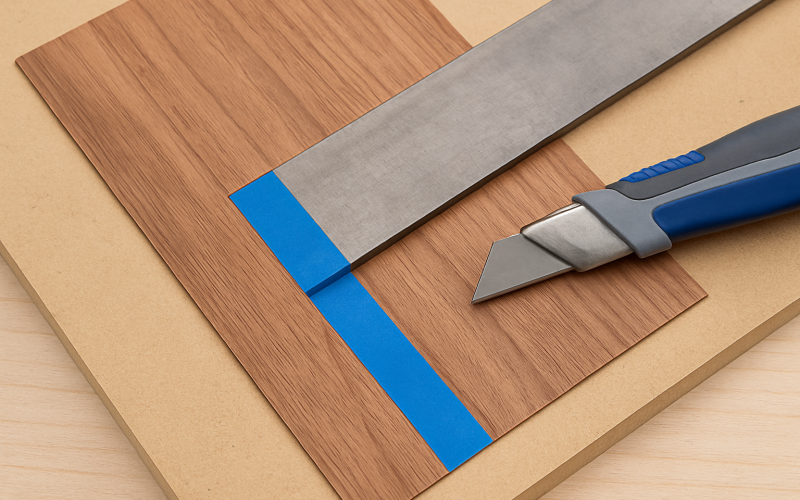
- Place the veneer face-up on your backer board.
- Apply painter’s tape over the cut line.
- Clamp a steel straightedge on the waste side.
- Score the cut lightly on the first pass.
- Follow up with 2 to 4 controlled passes, increasing pressure each time.
- Support the off-cut as it separates to avoid tear-out.
- Smooth the edge with a file or fine sandpaper.
Tip: Replace your blade every few feet of cutting, especially when working with figured veneers.
Method 2: Veneer Saw
Best for: Thicker veneers (up to 1/16″), multiple sheets, or straight cuts on species that resist knife tracking
A veneer saw gives you more control and lets you cut thicker stock cleanly, especially when stack cutting.
Steps:
- Sandwich your veneer between two thin plywood sheets.
- Clamp the stack firmly.
- Place a straightedge on the waste side as a guide.
- Angle the saw at about 60 to 70 degrees and use short, smooth strokes.
- Keep the saw pressed against the guide and maintain consistent pressure.
- Clear sawdust often and keep the teeth sharp.
Tip: Sandwiching your veneer stack between plywood creates a zero-clearance effect that drastically reduces edge blow-out.
Method 3: Template Routing
Best for: Identical parts, complex curves, and inlays
Routing delivers repeatable, clean shapes, especially when used with a template and a flush-trim or spiral bit.
Steps:
- Create a smooth-edged hardboard or acrylic template.
- Secure the veneer to the template with double-sided tape or light spray adhesive.
- Rough-cut the veneer slightly outside the finished shape using a knife or saw.
- Use a sharp spiral or flush-trim bit with a bearing to follow the template.
- Make several shallow passes instead of one deep one.
- Use a backer at the exit point to prevent tear-out.
Tip: If you’re removing fuzz or final cleanup, use a brief, light climb cut. But keep hands clear and use extreme caution.
Pro Techniques That Prevent Problems
If you’re working with expensive veneer or high-visibility cuts, these advanced tips make a real difference:
- Stack Cutting: Align, tape, and clamp 2 to 4 sheets and cut through all of them at once. Great for symmetrical panels or matched doors.
- Veneer Tape Reinforcement: Apply veneer tape directly across the face grain before cutting, then remove it after pressing.
- Zero-Clearance Support: Always use a backer under the veneer. Add painter’s tape across the top to prevent splintering.
- Moisture Assist: For brittle veneers, lightly dampen with a cloth before cutting to reduce cracking. Test first.
- Catch the Off-Cut: Support the end of the cut to prevent last-inch tear-out, especially with jigsaws or saws.
- Follow the Grain: Cutting with the grain gives cleaner results and reduces the risk of splitting.
Tool Maintenance Tips
Sharp, well-maintained tools are essential to quality veneer work. Here’s how to keep yours ready:
- Utility knives: Replace blades often. A dull blade will crush fibers, not cut them.
- Veneer saws: Hone regularly with a fine diamond plate, keeping the original bevel.
- Scissors: Oil the pivot and sharpen occasionally with a whetstone.
- Router bits: Clean off resin, check bearings, and replace dull cutters before they cause tear-out.
- Storage: Keep blades covered, tools dry, and cutting edges protected between uses.
Troubleshooting (Fast Fixes)
| Problem | Likely Cause | Fix |
|---|---|---|
| Splits or tears | Too much pressure in one pass, dull blade, no support | Use multiple light passes; add tape and a backer; cut with the grain |
| Wandering line | Weak straightedge or uneven pressure | Use a rigid metal guide; adjust your technique; re-clamp if needed |
| Edge fuzz | Dull blade or rushed cutting | Swap in a fresh blade; make a final light pass; finish with a single-direction file stroke |
| Exit chip-out | No support under the off-cut | Add a sacrificial backer and catch the off-cut as the cut completes |
| Misaligned parts | Sequence or grain direction was flipped | Mark your panels clearly and keep veneer bundles in order |
| Burn or tear while routing | Bit was too hot or cut too deep | Make shallower passes; reduce RPM or increase feed speed; let the bit cool between cuts |
FAQs
Knife or veneer saw — which one should I use?
Use a knife for thin veneer sheets and clean seams. Switch to a veneer saw for thicker sheets, multiple layers, or tough grain.
Should I cut face up or face down?
For hand cuts, place the good face up and tape the surface. For routing, support both sides and prevent exit tear-out.
Can I wet the veneer to prevent cracking?
For some brittle species, a light misting can help. Always test first and let the veneer stabilize before cutting.
How do I cut curves if I don’t have a router?
Use veneer scissors for small-radius cuts, or rough the shape with scissors and finish to a template with a knife.
What’s the best way to keep veneer seams tight?
Use a perfect straightedge, cut with a sharp blade in multiple passes, and lightly file the edge before bonding.
Final Tip: How to Cut Wood Veneer Cleanly
Clean veneer cuts aren’t about speed — they’re about control. Sharp blades, patient passes, full support, and the right method for the job are all it takes to get pro-level results. Practice on scrap, prep your panels, and keep your edges clean from the first slice to the final press.
Continue Reading → Wood Veneer vs Laminate: How to Choose the Right Surface
Continue Reading → How to Cut Laminate Without Chipping


